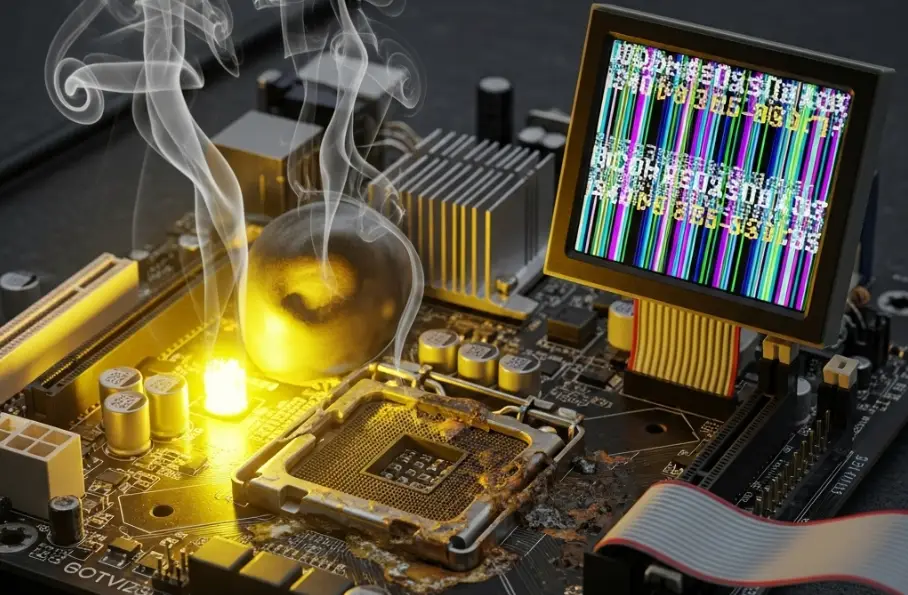
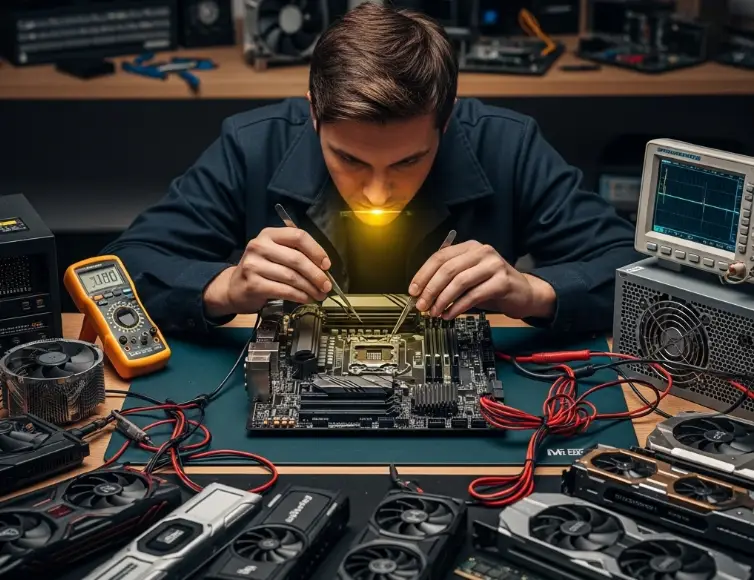
To fix a yellow light on motherboard shut down the PC, unplug it, then check and reset the RAM, GPU, and power cables. Remove non-essential components update BIOS if needed. If the issue continues, consult your motherboard manual or a technician.
This full guide 2025 provides accurate information, tested solutions, and expert advice trusted by users worldwide.
What is the Yellow Light on Motherboard?
The yellow light on motherboard is a warning signal that shows a hardware issue, such as problems with RAM, CPU, GPU, or power supply. It helps users find errors before the system fully starts.
Each motherboard brand may use the yellow light for different alerts, so checking the manual gives the exact meaning. This light helps prevent damage by showing early signs of failure.
Common Causes of a Yellow Light on Motherboard:
- Power supply failure or unstable voltage
- Faulty or improperly seated RAM modules
- Graphics card not detected or not installed correctly
- Loose motherboard cables or poor connections
- Outdated or corrupted BIOS firmware
- Overheating of CPU or other critical components
- Incompatible or damaged hardware parts
- Short circuits caused by dust or poor case airflow
- Faulty motherboard sensors or diagnostic LEDs
Understanding these common causes of a yellow light helps users find and fix hardware problems before they get worse.
Also read: How to Fix CPU Fan Speed Detection Error? Guide 2025!
Is the Yellow Light Always a Bad Sign?
No, the yellow light is not always a bad sign. It can be part of normal startup checks or a sign of a minor issue that is easy to fix.
Temporary Issues:
- Loose RAM or GPU
- Unplugged or misconnected cables
- Normal boot sequence indicator
Serious Issues:
- Failing power supply
- Faulty motherboard or CPU
- Overheating or hardware failure
- Corrupted BIOS or incompatible parts
Quick checks can rule out simple problems, but a constant yellow light may need expert help.
How Does the Yellow Light Affect Your PC and Its Safety?

The yellow light warns of problems that can harm your PC. It may cause system instability, data loss, or even hardware damage if not fixed early.
System Instability:
The PC may freeze, crash, or fail to start, which can interrupt your work or gaming.
Data Loss:
Sudden shutdowns or errors during file transfers can corrupt or delete important files.
Hardware Damage:
Overheating or power issues linked to the yellow light can damage parts like the CPU, GPU, or RAM over time.
How to Diagnose the Yellow Light on Motherboard? (Tools & Steps)
Tools You May Need:
- Screwdriver
- Thermal paste
- PSU tester
- Spare RAM stick
- Flash drive for BIOS update
- Anti-static wrist strap (optional for safety)
Step-by-Step Guide:
- Turn off your PC and unplug the power cable from the wall socket
- Open the case using a screwdriver and make sure the area is clean and safe to work in
- Check all cables connected to the motherboard and power supply to see if they are tight and secure
- Remove and reinsert the RAM sticks one at a time to test if one is faulty
- Remove the GPU and test the system with basic components only, like CPU, RAM, and power
- Use a PSU tester to check if the power supply is working correctly
- Look for signs of overheating, such as a burnt smell or dried thermal paste on the CPU
- Try using a spare RAM stick if you have one to see if the issue is related to memory
- If needed, update the BIOS using a flash drive by following the steps in your motherboard manual
- If the yellow light stays on after all checks, the motherboard or another part may be damaged and may need expert help
Knowing how to diagnose the yellow light on the motherboard helps you find the exact problem and avoid spending money on the wrong parts.
How to Fix a Yellow Light on Motherboard? (Step-by-Step)

- Turn off your PC and unplug it from the power source.
- Check the power supply unit (PSU) to ensure it is working properly and connected securely.
- Open your computer case and carefully remove the RAM sticks.
- Clean the RAM slots if needed, then reset the RAM firmly back into place, one stick at a time.
- Test the graphics card by removing it and then reinstalling it securely, or try using the onboard graphics if available.
- Reset the BIOS by removing the CMOS battery for a few minutes or using the reset jumper on the motherboard.
- Plug your PC back in and power it on to see if the yellow light clears.
- If the light remains, check for BIOS updates from your motherboard manufacturer and update drivers once the system boots.
- Inspect for overheating issues and replace thermal paste if necessary.
- If the problem persists, contact a professional technician as the motherboard or other hardware parts may need repair or replacement.
Following these steps helps you fix a yellow light on the motherboard safely and efficiently to avoid further damage or data loss.
Temporary vs. Permanent Yellow Light:
| Temporary Causes | Permanent Causes | Fix / Solution |
| Loose or improperly seated RAM | Faulty motherboard or damaged CPU | Reset RAM sticks carefully or replace faulty parts |
| Loose power cables or connectors | Failing power supply unit (PSU) | Check and secure cables or replace the PSU |
| Normal boot process indicator | Overheating is causing hardware damage | Clean the cooling system and apply new thermal paste |
| Temporary BIOS glitch | Corrupted BIOS or firmware failure | Reset or update BIOS |
| Dust buildup is causing a short circuit | Defective GPU or RAM modules | Clean the motherboard and test with spare components |
This table helps understand temporary versus permanent yellow light causes on the motherboard and guides you on how to fix each issue quickly and safely.
When Should You Call a Professional?
Yellow Light Stays On:
If the yellow light does not turn off after you try simple fixes, it is time to call a professional.
Computer Won’t Start:
If your PC will not boot or start at all, get expert help.
Error Happens Again:
If the yellow light or error keeps coming back, this could mean a serious problem.
Under Warranty:
If your computer is still under warranty, it is best to contact a professional. This avoids losing your warranty.
Why Call a Professional?
Experts have the right tools and skills to fix problems safely. They can prevent more damage to your PC.
Benefits:
Getting help early saves you time and money. It protects your computer and keeps it working well.
Preventive Measures to Avoid Yellow Light Issues:
- Clean your PC regularly to remove dust and debris from inside the case
- Use a stable power supply to prevent voltage drops or spikes
- Ensure proper cooling by checking fans and applying fresh thermal paste when needed
- Update the BIOS and system drivers to fix bugs and improve hardware compatibility
- Use quality components like RAM, GPU, and power supply from trusted brands
- Check all cables and connections to make sure they are secure and undamaged
- Avoid overclocking hardware beyond recommended limits to reduce stress
- Monitor system temperatures to prevent overheating problems
Following these preventive steps helps reduce yellow light errors and keeps your computer running smoothly and safely.
FAQs:
Can a yellow light on the motherboard fix itself?
A yellow light on the motherboard rarely fixes itself and usually requires troubleshooting or repair to prevent further issues.
Does every motherboard have a yellow light indicator?
Not every motherboard has a yellow light indicator as features vary by brand and model.
Can dust cause the yellow light on the motherboard?
Yes, dust can cause a yellow light on the motherboard by creating shorts or blocking airflow that leads to overheating.
Should I update my BIOS to fix the yellow light?
Updating your BIOS can help fix the yellow light if it is caused by firmware issues or hardware compatibility problems.
Can I prevent yellow light issues with a UPS?
Yes using a UPS can prevent yellow light issues by protecting your PC from power surges and unstable voltage.
Conclusion: How to Fix a Yellow Light on Motherboard?
A yellow light on the motherboard signals a hardware issue that should not be ignored. By following simple steps like checking power connections, resetting RAM and GPU, and updating the BIOS you can often fix the problem yourself.
Regular maintenance and using quality parts help prevent this warning light. If the light remains or your PC fails to start it is wise to seek expert help. Acting quickly protects your computer from damage and ensures safe reliable performance over time.
Also read:

